24 Jun How to Do Clean Room Partition: Ensuring Efficiency and Safety
Are you considering implementing clean room partition in your facility? Clean rooms are essential for industries such as pharmaceuticals, electronics, and biotechnology, where maintaining a controlled environment is crucial. By effectively separating different areas within a clean room, you can ensure the environment’s integrity and prevent cross-contamination. In this article, we will guide you through clean room partitioning, covering key steps, considerations, and best practices. The content has collaborated with https://newark67.com/
Introduction to Clean Room Partitioning
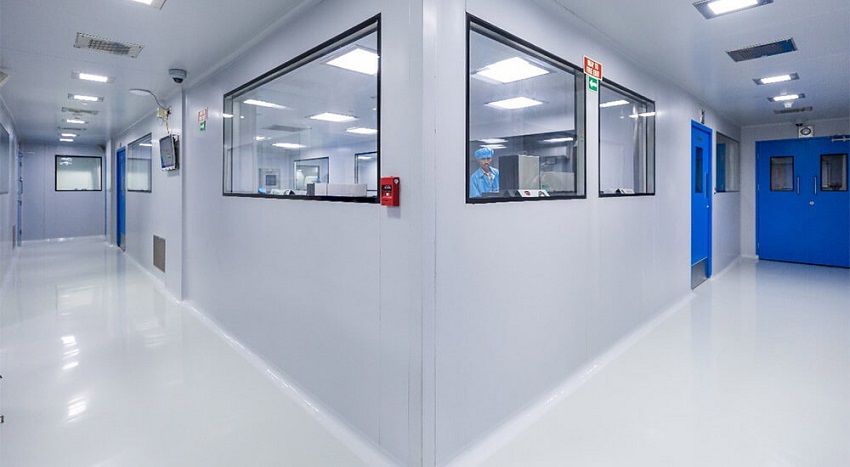
A clean room is a controlled environment with low levels of pollutants such as dust, airborne microbes, and chemical vapors. Clean room partitioning involves dividing a clean room into separate zones to meet specific cleanliness requirements. It allows different activities to take place concurrently while maintaining the required cleanliness levels and preventing the spread of contaminants. You may also be interested in building a cleanroom.
Step 1: Assessing Clean Room Requirements
Before initiating the partitioning process, assessing your clean room requirements is crucial. Consider the nature of your operations, required cleanliness level, and any specific applicable regulations or industry standards. This assessment will help determine the partitioning materials, layout, and overall design best suit your needs.
Step 2: Choosing Suitable Partitioning Materials
Selecting the right partitioning materials is essential for creating effective barriers within your clean room. Common materials used for clean room partitions include tempered glass, acrylic, stainless steel, and high-pressure laminate. Each material has advantages and considerations, such as chemical resistance, durability, and ease of cleaning. Evaluate the specific requirements of your clean room and consult with experts to choose the most suitable materials.
Step 3: Designing the Clean Room Layout
The layout of your clean room plays a significant role in optimizing workflow and ensuring efficiency. Consider factors such as the flow of personnel and materials, equipment placement, and required separation between different zones. Collaborate with clean room designers and architects to create a layout that maximizes productivity while maintaining cleanliness standards.
Step 4: Installing Clean Room Partitions
Once you have determined the partitioning materials and layout, it’s time to install the clean room partitions. Engage experienced contractors who specialize in clean room installations to ensure proper execution. Attention to detail is crucial during this step to avoid gaps or leaks that could compromise the integrity of the clean room environment.
Step 5: Sealing and Finishing Touches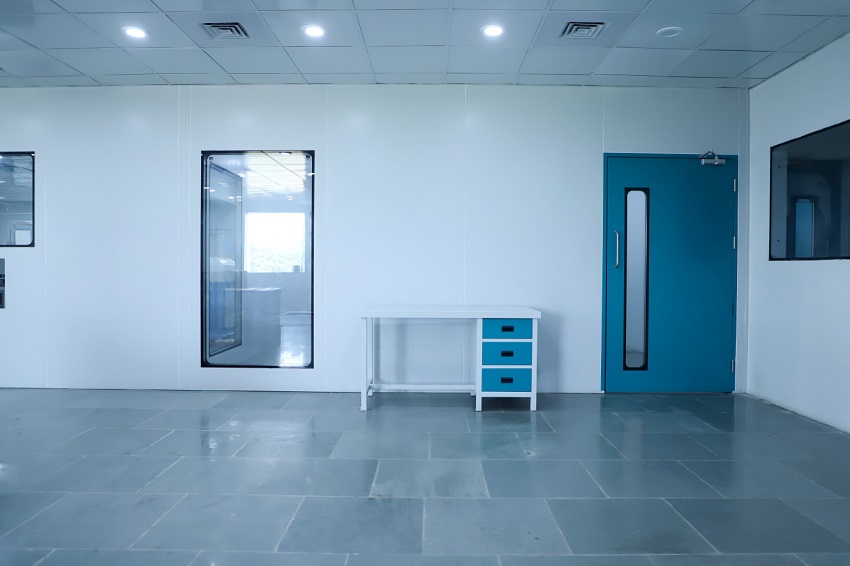
After installing clean room partitions, focus on sealing gaps or joints to prevent air leakage and contamination. To ensure air tightness, use suitable sealing materials, such as silicone sealants or gaskets. Additionally, consider adding finishing touches such as coving, which provides smooth transitions between the partitions and the floor or ceiling, facilitating easy cleaning and minimizing particle accumulation.
Step 6: Validation and Testing
Once the clean room partitioning is complete, validation and testing are essential to verify the setup’s effectiveness. Conduct airflow pattern tests, particle count measurements, and air change rate assessments to ensure compliance with cleanliness standards. Regular monitoring and maintenance should be implemented to sustain the optimal performance of the clean room partitions.
Conclusion
Implementing clean room partitioning is a critical step toward maintaining a controlled and contamination-free environment. By following the outlined steps, you can ensure efficiency, safety, and compliance with cleanliness standards. Remember to assess your specific requirements, choose suitable partitioning materials, design an optimal layout, install partitions carefully, seal any gaps, and validate the setup through testing. Clean room partitioning is an investment that yields long-term benefits for industries that rely on stringent environmental control.
FAQs (Frequently Asked Questions)
Q1: What is the purpose of clean room partitioning?
Clean room partitioning is essential to maintain controlled environments in industries where cleanliness and prevention of cross-contamination are critical, such as pharmaceuticals, electronics, and biotechnology.
Q2: How do I determine the suitable cleanliness level for my clean room?
The required cleanliness level for your clean room depends on the specific operations and industry regulations. Consult industry standards and guidelines or seek expert advice to determine the appropriate cleanliness level.
Q3: Can I install clean room partitions myself, or should I hire professionals?
To ensure the effectiveness and integrity of the clean room partitions, it is advisable to engage experienced professionals who specialize in clean room installations. They have the expertise to handle the intricacies and complexities involved.
Q4: What materials are commonly used for clean room partitions?
Clean room partitions can be made from materials such as tempered glass, acrylic, stainless steel, and high-pressure laminate. The choice of material depends on factors like durability, chemical resistance, and ease of cleaning.
Q5: How often should clean room partitions be tested and validated?
Regular testing and validation of clean room partitions are essential to ensure ongoing compliance with cleanliness standards. Implement a schedule for periodic airflow pattern tests, particle count measurements, and air change rate assessments.
No Comments