26 Apr Smoothing a Wall Surface Ready for Painting: Tips and Techniques
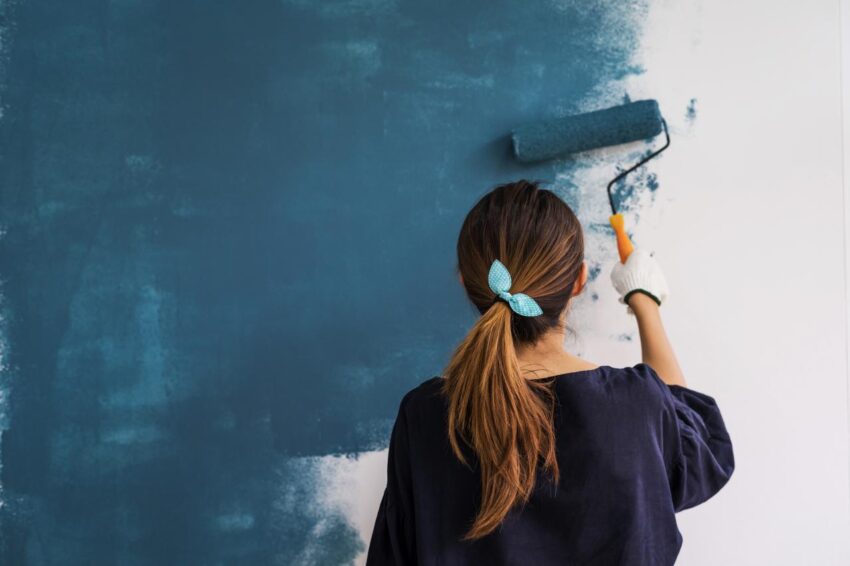
Are you planning to paint your walls but worried about the uneven surface? Don’t worry, with a little preparation and the right techniques, you can easily smooth out your wall surface and create a flawless finish. In this article, we will guide you through the step-by-step process of smoothing a wall surface ready for painting. The content is presented by Newhouseproject.
Understanding the Wall Surface
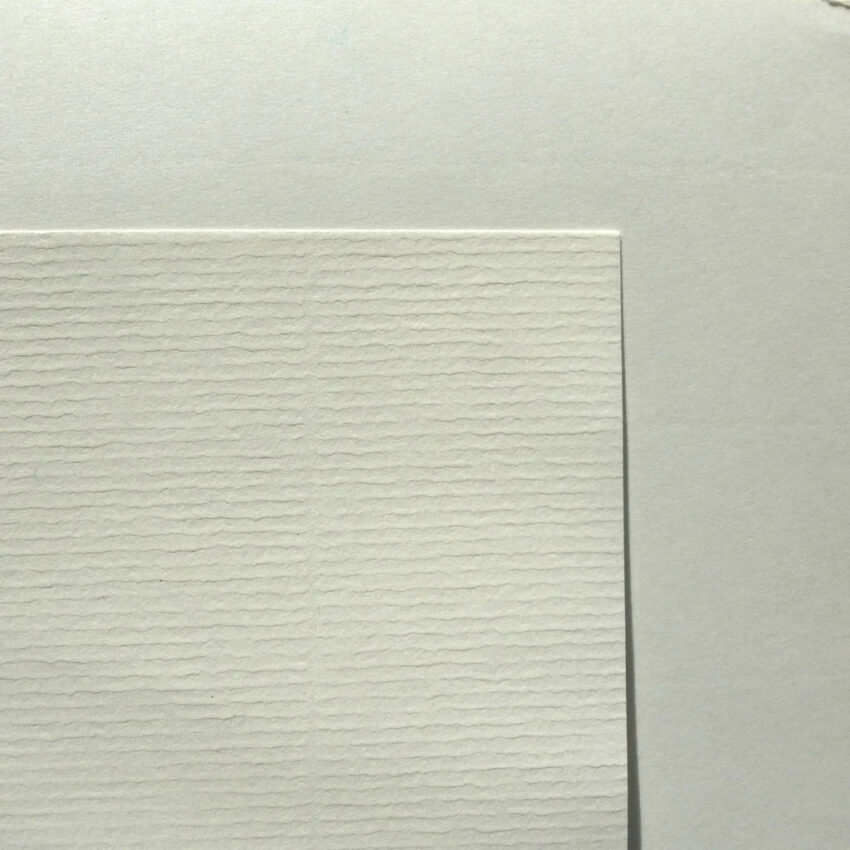
Image source: Google.com
Before we start smoothing the wall, it is essential to understand the type of wall surface we are dealing with. Different wall surfaces require different preparation techniques. Here are some common types of wall surfaces:
Drywall
Drywall is the most common wall surface in modern homes. It is a gypsum-based material that is easy to cut, shape, and install. Drywall surfaces are usually smooth and require minimal preparation before painting.
Plaster
Plaster walls are a traditional wall surface that was popular in older homes. Plaster is a mixture of sand, water, and lime that is applied in multiple layers to create a hard and durable surface. Plaster walls are usually uneven and require more preparation before painting. You can read also: Create an Eye-Catching Two-Tone Wall at Home
Textured Wall
Textured walls are popular for their unique appearance and are created by adding sand or other materials to the paint or by using a special roller. Textured walls require a different approach for smoothing before painting.
Preparing the Wall Surface
Now that we understand the type of wall surface let’s move on to the preparation process. Proper preparation is the key to achieving a smooth and flawless finish.
Step 1: Clean the Wall
Start by cleaning the wall surface with a damp cloth or sponge. Remove any dirt, dust, or cobwebs from the wall surface. This will ensure that the surface is clean and ready for painting.
Step 2: Remove Loose Paint
If there is any loose or peeling paint on the wall surface, use a paint scraper or sandpaper to remove it. This will prevent the old paint from flaking off after painting.
Step 3: Fill Holes and Cracks
Use spackle or joint compound to fill any holes or cracks in the wall surface. Apply a thin layer of spackle using a putty knife and let it dry for 24 hours. Sand the spackle with sandpaper until it is smooth and level with the wall surface.
Step 4: Sand the Wall
Use sandpaper to sand the wall surface. Sand in a circular motion until the surface is smooth to the touch. Use a sanding block to keep the sandpaper flat and even. Be careful not to sand too much and damage the wall surface.
Step 5: Prime the Wall
Finally, apply a coat of primer to the wall surface. Primer will help the paint to adhere to the wall surface and will also help to hide any imperfections. Let the primer dry for at least 24 hours before painting.
Smoothing Techniques
Now that the wall surface is prepared let’s move on to the smoothing techniques. Here are some techniques to help you achieve a smooth and flawless finish.
Skim Coating
Skim coating is a technique used to create a smooth surface on textured walls or walls with small imperfections. Skim coating involves applying a thin layer of joint compound or spackle to the entire wall surface. Use a trowel or putty knife to apply the compound in a thin and even layer. Let the compound dry for 24 hours and sand it smooth.
Sanding Sealer
Sanding sealer is a technique used to fill small imperfections in the wall surface. Sanding sealer is a type of paint that is thinned down and applied in a thin layer to the wall surface. The sealer fills in any small imperfections and dries quickly. Once the sanding sealer is dry, sand it smoothly using fine-grit sandpaper. You can then apply a coat of primer and start painting.
Wet Sanding
Wet sanding is a technique used to smooth out larger imperfections on the wall surface. Wet sanding involves using a sanding sponge and water to sand the wall surface. Wet sanding is less dusty and more effective than dry sanding. Wet sand the wall surface in circular motions until it is smooth to the touch. Rinse the sponge frequently and wipe away any excess water from the wall surface.
Tips for Smoothing a Wall Surface
Here are some tips to help you achieve a smooth and flawless finish:
- Always use the right tools and materials for the job.
- Work in small sections to ensure even coverage.
- Use a light touch when sanding to avoid damaging the wall surface.
- Use a sanding block to keep the sandpaper flat and even.
- Always wear a dust mask and eye protection when sanding.
- Apply primer to the wall surface before painting to ensure a smooth and even finish.
Conclusion
Smoothing a wall surface may seem like a daunting task, but with the right techniques and a little patience, you can achieve a smooth and flawless finish. Remember to prepare the wall surface properly, use the right tools and materials, and work in small sections. Whether you are dealing with drywall, plaster, or textured walls, these tips and techniques will help you achieve a professional-looking paint job.
No Comments