18 May How to Remove a Sink Drain
Sink drains are an essential part of any kitchen or bathroom. They allow us to wash our hands, dishes, and faces, and they help to keep our homes clean and sanitary. However, sink drains can also become clogged and need to be removed. This is a relatively simple task that can be done by anyone with a few basic tools.
In this blog post, we will show you how to remove a sink drain. We will provide step-by-step instructions, as well as some helpful tips and tricks.
What You Will Need
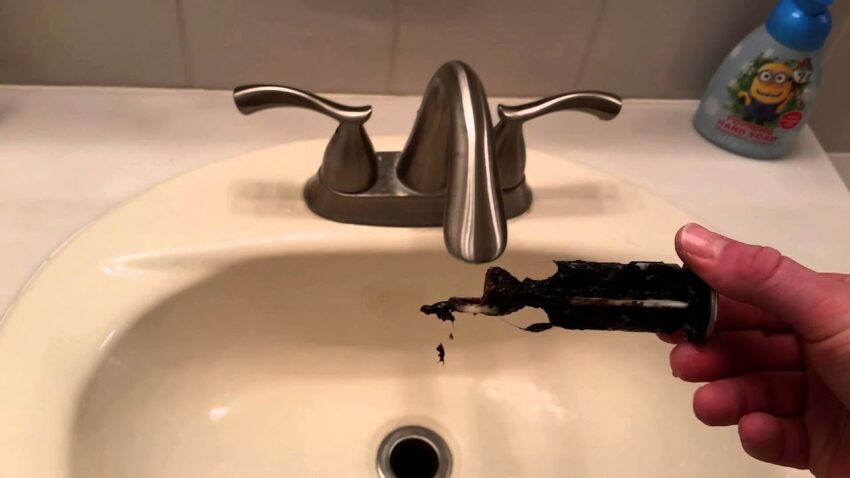
Image source: Google.com
Before you start, you will need to gather the following tools:
- A pipe wrench
- A screwdriver
- A pair of pliers
- A bucket
- A rag
- Plumber’s putty
Step 1: Turn off the Water
The first step is to turn off the water supply to the sink. This will prevent any water from flowing into the drain while you are working on it.
To do this, locate the shut-off valve for the sink. It is usually located underneath the sink, near the drain. Turn the valve clockwise to shut off the water.
Step 2: Remove the P-Trap
The P-trap is the curved pipe that connects the sink drain to the sewer line. It is usually made of plastic or PVC.
To remove the P-trap, loosen the nuts that connect it to the sink drain and the sewer line. Once the nuts are loose, you can pull the P-trap out.
Step 3: Remove the Drain Strainer
The drain strainer, also known as a drain grid, is a crucial component located at the bottom of the sink or bathtub drain. Its purpose is to effectively catch and prevent food particles, hair, and other debris from clogging the drain system. To remove the drain strainer, you can use a screwdriver to loosen the screws that secure it in place. Once the screws are adequately loosened, you can easily lift the drain strainer out of the sink or bathtub. If you’re specifically looking for a bathtub drain diagram, it can be helpful to refer to one to better understand the different parts and their functions within the drainage system.
Step 4: Clean the Drain
Once the drain strainer is removed, you can clean the drain. Use a brush to scrub away any food particles or other debris that you find. You can also use a plunger to clear any clogs.
Step 5: Reassemble the Drain
Once the drain is clean, you can reassemble it. Start by placing the drain strainer back in the sink. Then, tighten the screws that hold it in place.
Next, connect the P-trap to the sink drain and the sewer line. Tighten the nuts that connect the P-trap to make sure that it is secure.
Finally, turn on the water supply to the sink. Check the drain to make sure that it is working properly.
Tips and Tricks
- If the drain is really clogged, you may need to use a chemical drain cleaner. Be sure to follow the directions on the product label carefully.
- If you are not comfortable working under the sink, you can call a plumber to do it for you.
- It is a good idea to clean your sink drain regularly to prevent clogs. You can do this by simply running a brush through the drain with hot water.
Conclusion
Removing a sink drain is a relatively simple task that can be done by anyone with a few basic tools. By following the steps in this blog post, you can easily remove your sink drain and clean it up.
You may like to read What Do You Enjoy About Playing Golf?
No Comments